
Adding Wooden Pallet Designs to Your Garden’s
In our previous post we discussed how to recycle wooden pallets to create the garden’s walled and raised bed. Today, we’ll teach you how to make use of your pallets of wood to create decorative and functional styles to your backyard.
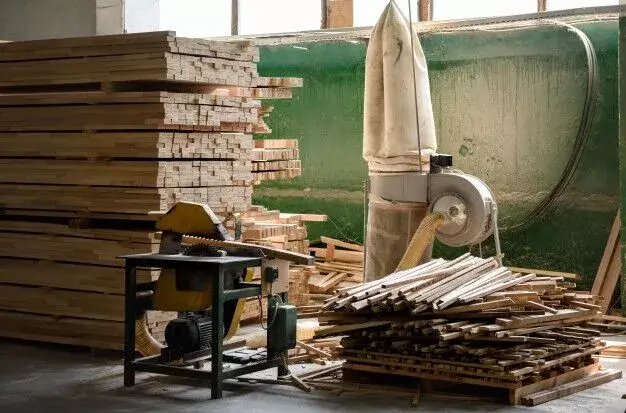
As a part of the wood packaging business, Pallet Management Group is proud to be an environmentally-friendly company that is always seeking to improve the quality of our lives by using sustainable options. If you’re willing to roll your sleeves with us, we’ll get started.
Always wear safety gear including gloves and goggles when operating a saw or sander.
Lawn Fencing or Edging
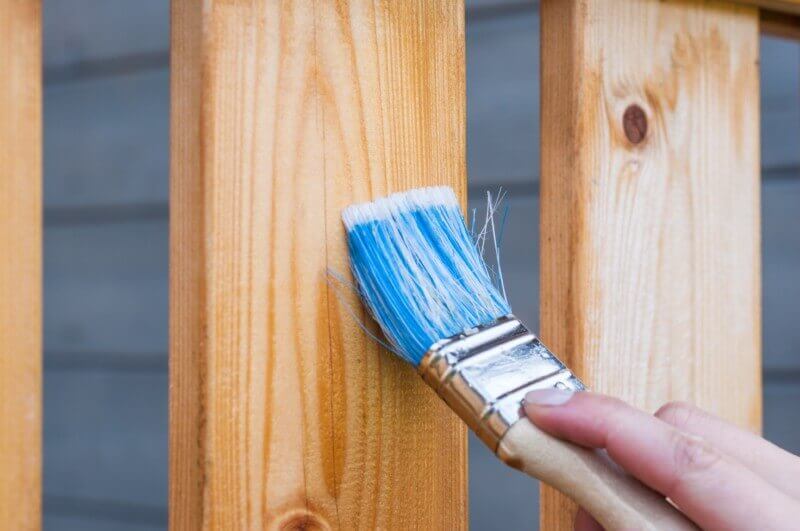
The design below uses planks of various dimensions that can be arranged in ascending or decreasing order and different sizes. To ensure that your planks are straight, you can tape the yardstick to a smooth surface to make it easy to reference. This step is not required.
Also Read: Safe To Reuse Wooden Pallets
Here’s how you can make an edge for a fence or garden by using wooden pallets:
- The planks of your pallet can be cut using a saw to different lengths. The lengths will vary based on the length you prefer.
- Cut two 1/8-inch metal rods with wire cutters into four sections of either six and nine inches based on the strength you require. Nine inches is the ideal length for fencing that is being used as the purpose of a raised bed.
- Make a piercing in a large, clean soda can with its label off, using an adjustable utility knife beneath the dome and just above the lower. Cut out an ideal cylindrical. Cut to the center of the cylinder until it’s open fold it over, and turn the hollow cylinder 90 degrees to cut the middle to leave two strips available. Clean the strips to get rid of any sticky residue left on the label. Repeat for the next bottle.
- Put together four planks of timber and arrange them in accordance with your preferences. This is your front. Turn your boards over and ensure that their bottoms are in line against one another. You can drill a hole into the bottom edge of the top and bottom planks by using a 1/8 inch drill bit.
- Put a rod of steel in each hole. Utilize a rubber mallet or hammer if you experience difficulties. It is possible to use rubber around the end of your rod at the point where it touches the plank to ensure it stays within it, however this isn’t necessary.
- When all four planks are aligned with their backs facing your Lay a piece of plastic perpendicularly over the four planks, with the curl separating from you. Make sure the ribbon will not cross the planks at the edges. Utilizing a stapler, stitch all four edges of the strip, as well as those edges on the planks in the middle. Make sure the staple gun’s nose is level against the plank of wood. If you are having trouble you can add weight to the rear of the gun, and move the staples over with the Hammer.
- Repeat steps 4 and 5 at least as often as you require to build enough plank groupings to completely cover your walkway or garden.
- Set up a set of four wooden boards on the spot you would like the fence or edge. Utilize a mallet made of rubber or a an hammer to crush these boards down until the rods are deep enough. Repeat this process for all planks.
- Your fence is complete!
We Do More for Your Garden!
As you will see, wooden pallets have many uses. Pallet Management not only provides wooden pallets for the construction of facilities We also make mulch using pallets made of wood which are no longer in use. The mulch made from wood is beneficial to gardens since it holds water and helps prevent pests from damaging your plants and deters growing weeds.
Do you want to learn the more details about our company? Take a look at our services or get in touch with us today!